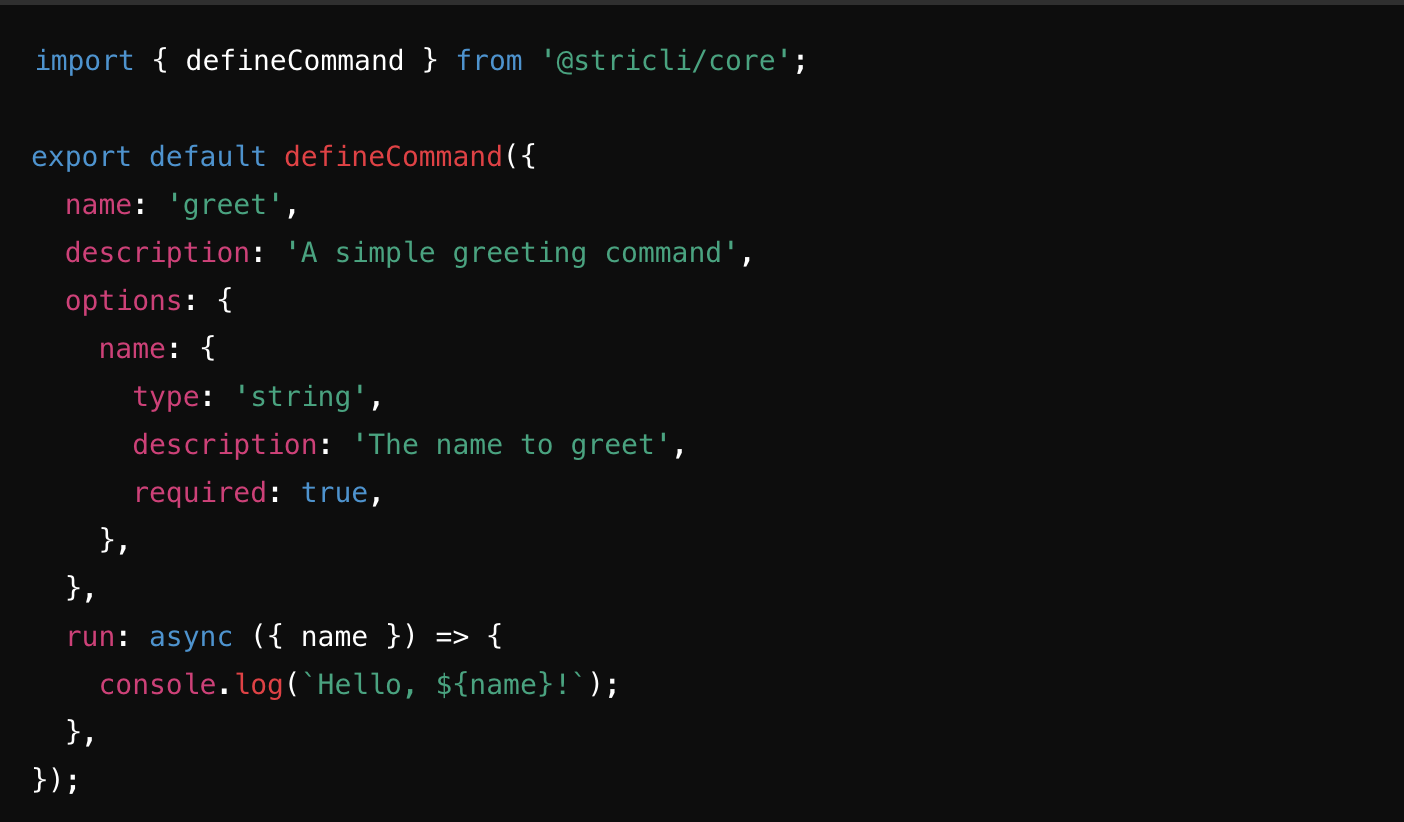
Getting Started with Stricli: A Step-by-Step Tutorial
Discover how to create your first Stricli application with this concise tutorial, guiding you through generating a new project, installing dependencies, and testing your CLI tool.

In the realm of command-line interface (CLI) development, Stricli emerges as a powerful tool that simplifies the creation of interactive CLI applications. This tutorial will guide you through the process of setting up a new Stricli application from scratch, helping you understand the foundational steps involved.
Introduction to Stricli
Stricli is an open-source framework designed to streamline the development of CLI applications in Node.js. It offers a structured approach to building command-line tools, allowing developers to focus on functionality rather than boilerplate code.
Step 1: Generate a New Node Application
To kickstart your Stricli project, you'll use the @stricli/create-app package. Open your terminal and run the following command:
npx @stricli/create-app@latest my-app
This command does the following:
- Creates a New Directory: A folder named
my-appwill be generated in your current working directory. - Populates Boilerplate Code: The directory comes pre-loaded with the basic structure and files needed for a Stricli application.
Customization Options
The create-app script offers several flags to customize your application:
--type: Sets the package type (commonjsormodule). Default ismodule.--template: Chooses the application template (singleormulti). Default ismulti.--auto-complete: Includes auto-complete functionality. Enabled by default.--nameor-n: Specifies the package name if different from the directory name.--command: Sets the command name if different from the package name.--descriptionor-d: Adds a package description.--license: Defines the package license. Default isMIT.--author: Specifies the package author.
For example, to create a single-command application with a custom name and description, you might run:
npx @stricli/create-app@latest my-app --template single -n "custom-app" -d "A custom Stricli application"
Step 2: Install Dependencies
Navigate into your new application directory:
cd my-app
Install the necessary dependencies using:
npm install --ignore-scripts
Note: The --ignore-scripts flag is important when --auto-complete is enabled (which it is by default). It prevents the postinstall script from running automatically, allowing you to handle auto-complete installation manually if needed.
Step 3: Build the Application
The generated project includes a build script that utilizes Tsup, a TypeScript bundler powered by esbuild. To compile your application, run:
npm run build
Important: By default, tsup focuses on bundling and does not perform type checking. If you want to include type checking, consider running tsc --noEmit separately.
Step 4: Test the Output
After building your application, you can test it by running:
dist/cli.js --help
Expected Output for Multi-Command Application
If you chose the default multi template, you should see help information outlining the usage, available flags, and commands of your application.
Example Output:
USAGE
  my-app subdir
  my-app nested foo|bar ...
  my-app --help
  my-app --version

Stricli command line application

FLAGS
  -h --help     Print this help information and exit
  -v --version  Print version information and exit

COMMANDS
  subdir  Command in subdirectory
  nested  Nested commands
You can further explore commands by appending them. For instance:
dist/cli.js nested --help
Expected Output for Single-Command Application
If you opted for the single template, the help output will reflect a single command structure.
Example Output:
USAGE
  my-app --count value arg1
  my-app --help
  my-app --version

Stricli command line application

FLAGS
     --count    Number of times to say hello
  -h --help     Print this help information and exit
  -v --version  Print version information and exit

ARGUMENTS
  arg1  Your name
You can test the application by providing the required arguments:
dist/cli.js World --count 3
Expected Output:
Hello World!
Hello World!
Hello World!
Understanding the Project Structure
The boilerplate code is organized to separate the command definitions from their implementations. This structure ensures that:
- Synchronous Loading: Only necessary files are loaded when the application starts, optimizing performance.
- Modularity: Commands and their functionalities are neatly organized, making the codebase maintainable and scalable.
Feel free to modify the file layout or move declarations around to suit your project's needs. Just remember that everything except the implementation files (impl.ts) is loaded synchronously on app load.
Conclusion
You've successfully created and tested a basic Stricli application! This foundation allows you to build more complex CLI tools by adding new commands, flags, and functionalities.
Next Steps:
- Explore Features: Dive into Stricli's features to learn about argument parsing, command routing, and more.
- Customize Commands: Add custom logic to your commands by editing the implementation files.
- Enhance Functionality: Incorporate additional packages or tools to expand your application's capabilities.


